Introduction
Welcome to Action Target’s step-by-step guide on how to site in a scope. Whether you’re a first-time shooter or looking to improve your precision, learning to align your scope accurately is essential for both accuracy and safety. Today, we’ll cover everything you need to know to zero your scope effectively, so you can feel confident and ready to hit your target. Let’s get started!

The Importance of Zeroing: Safety and Precision
Before diving into the details of how to site in your scope, it’s essential to understand why zeroing matters. Zeroing your scope aligns the point of aim with the point of impact, increasing the chances of hitting where you’re aiming. This alignment is crucial for safety, accuracy, and precision.
Imagine being in the field, aiming at a target, but the bullet lands off mark. This misalignment not only affects your accuracy but can also lead to unintended consequences, especially in hunting or high-precision shooting scenarios. Zeroing your scope builds confidence, allowing you to focus fully on your shot process, knowing that you will be accurate and safe.
By taking the time to properly align your scope, you’re making every shot count—whether for practice, sport, or real-world situations. Let’s explore the steps that make this possible.
Choosing Your Zero Distance
The distance at which you zero your scope can impact your trajectory and overall accuracy. For example, zeroing at 25 yards may be ideal for close-range shooting, while 100 yards is a standard for longer ranges. The choice depends on your intended use and shooting style, so consider your typical shooting distance when choosing where to zero.
Shop Action Target Rifle Zero Targets Here
Step-by-Step Zeroing Process
Now that we know why zeroing is so important, let’s walk through the steps to properly site in your scope. These steps will guide you through the process, making it easy to understand and repeat.
Step 1: Adopt a Stable Position
Start by getting into a stable shooting position. The prone position—lying down—is preferred for zeroing because it provides a steady base, helping reduce movement. If prone isn’t an option, a shooting bench can work too. Your position should feel comfortable and allow you to support the rifle steadily.
Step 2: Set Up Your Rifle Support
Once you’re in position, set up a stable rest for your rifle, like a bipod or sandbag. This support minimizes any rifle movement, which is crucial for precision. Make sure your body is lined up directly behind the rifle to keep your shot consistent.
Step 3: Adjust Your Scope
Check your scope’s settings for windage (left and right adjustment) and elevation (up and down adjustment). Start with these set to zero if you’re using a new scope or have recently adjusted it. Ensuring these are dialed in correctly will make your shots more predictable.
Step 4: Fire Your Initial Group
When ready, load your rifle and align your crosshairs with the best reference point available. This could be the center of a bulls-eye target or the corner of a paster. Take a deep breath, exhale slowly, and gently squeeze the trigger. Fire a three-shot group, maintaining steady breathing and trigger control. This initial group helps you see where your shots are landing compared to your aim. Shooting a good group is paramount in making your initial adjustment. If your group is larger than 1-2” we suggest reshooting your group.
Step 5: Check Your Shot Placement
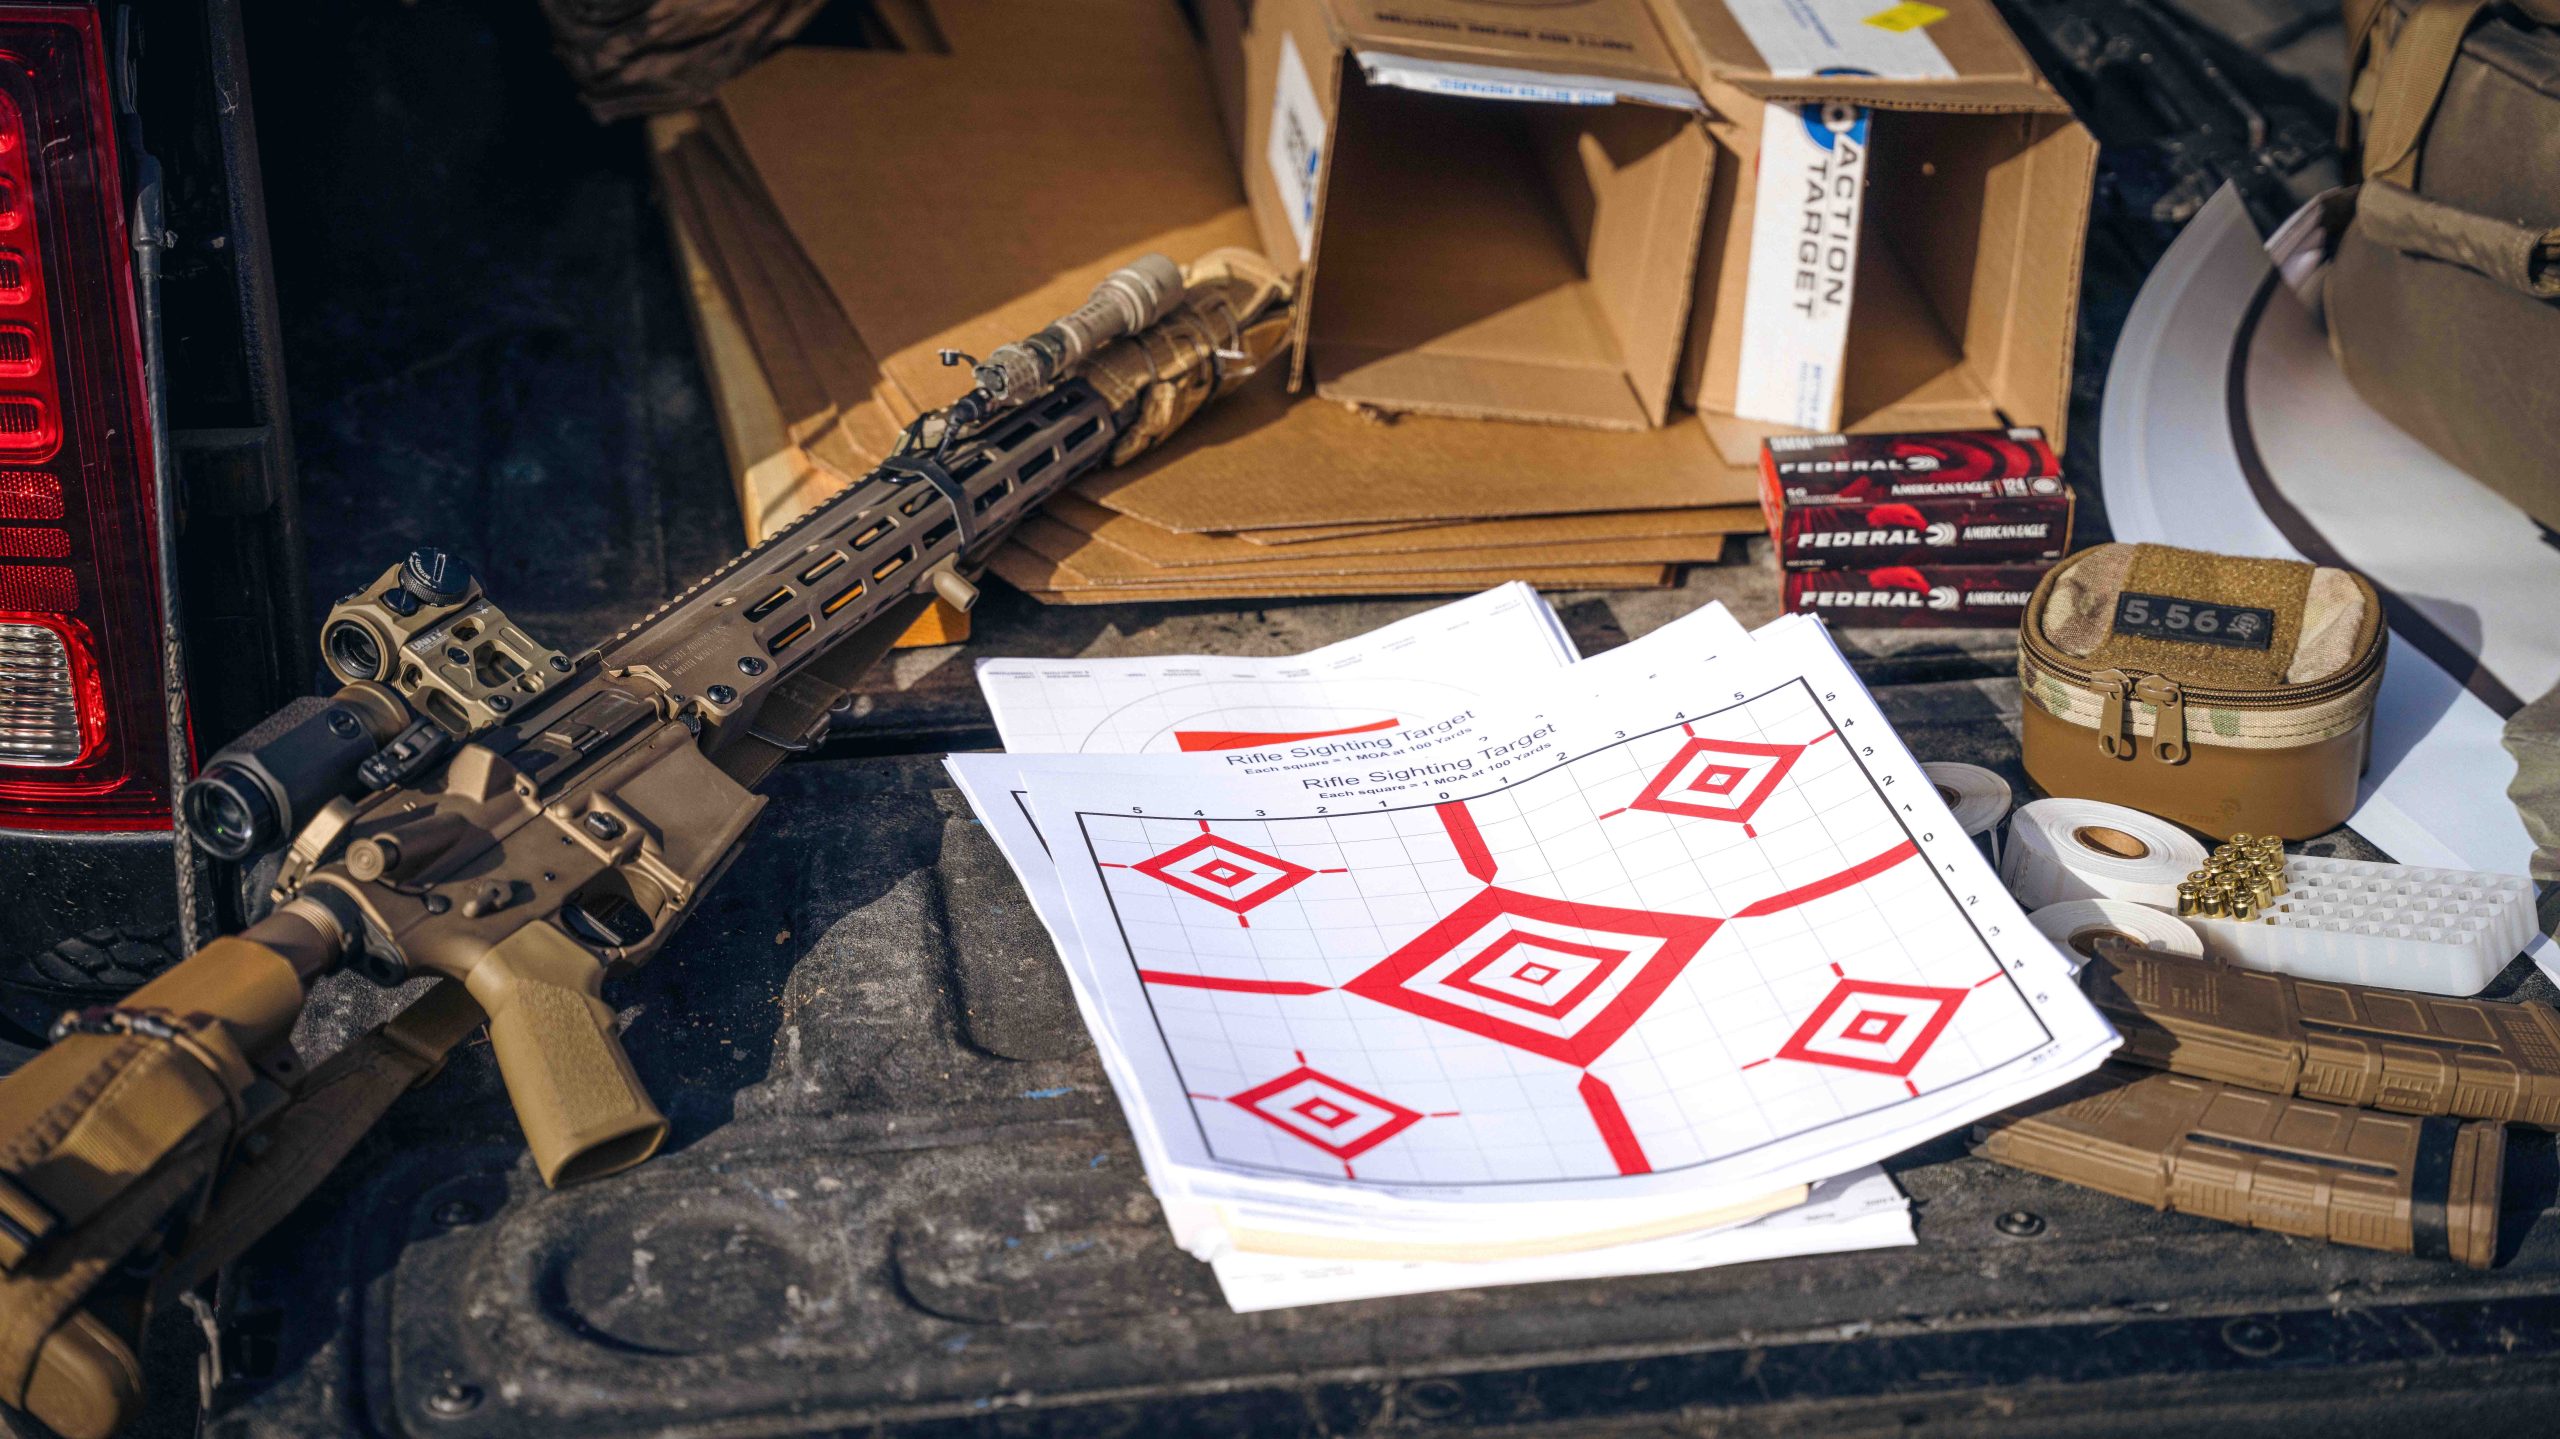
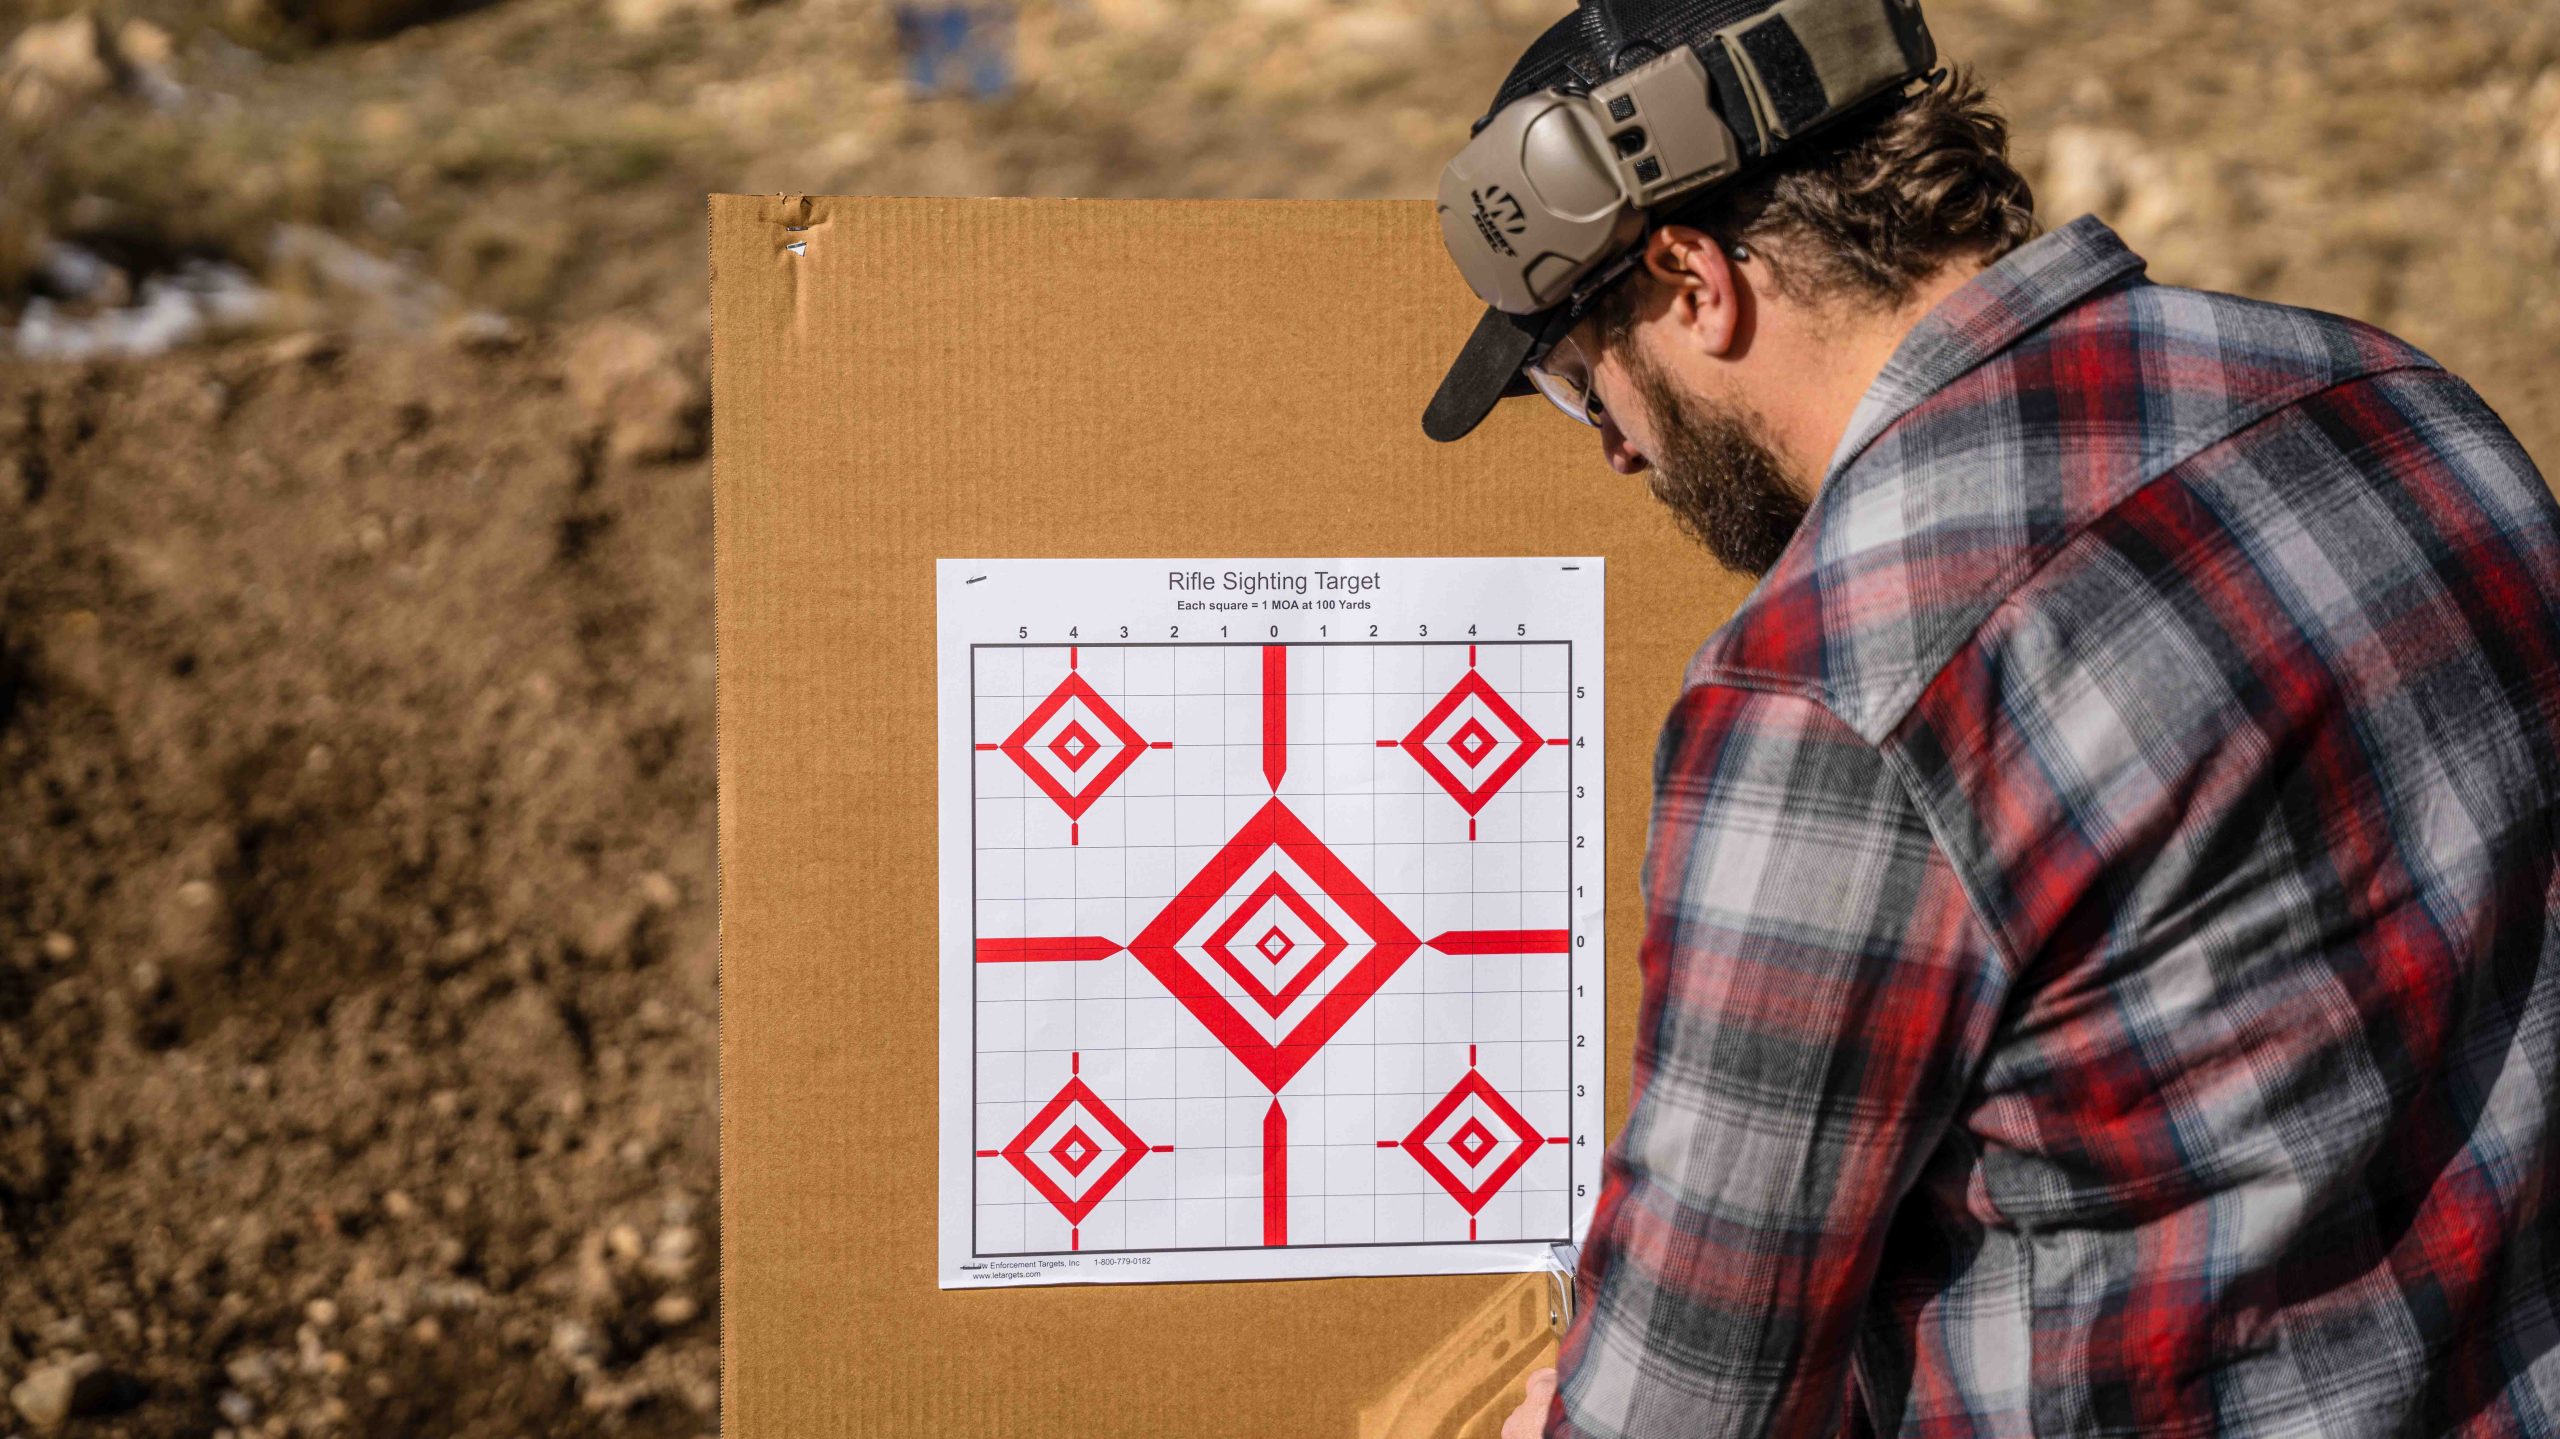
Look at where your shots landed on the target. Did they hit high, low, or off to one side? This information will help guide your adjustments. Some targets are even designed to show you exactly how many “clicks” you need to adjust to get on target. Typically, each click represents an angular adjustment, such as ¼ MOA (Minute of Angle) or 1 cm at 100m, depending on your scope. So, each click will move the point of impact by a small amount, making precise adjustments easier. Action Target offers targets that show these “click” adjustments clearly—check them out to make zeroing simpler!
Step 6: Adjust Windage and Elevation
Based on your shot placement, adjust your scope’s windage and elevation knobs. For example, if your shots are hitting to the left, adjust your windage to the right. Most scopes allow you to make small adjustments per “click” based on your distance from the target, so make sure your adjustments are measured.
Step 7: Confirm Your Zero
After making adjustments, fire another three-shot group to see if you’re now hitting your point of aim. If everything’s aligned, your shots should be on target. Take your time to confirm that your scope is accurately zeroed.
Step 8: Reset Your Windage and Elevation
Now that you’ve aligned your point of aim and point of impact, you need to reset your windage and elevation turrets. Each scope has a different process to accomplish this and you should check your scope’s manual. This is a process that requires some form of cap removal and reset, it is not simply resetting your turret back to zero.
Common Challenges and Troubleshooting
Even with the right steps, you might encounter some common issues while zeroing. Here are some quick troubleshooting tips:
- Inconsistent Shots: This can often be due to inconsistent shooting position or trigger control. Make sure your body, hands, and breathing are steady with each shot.
- Scope Not Tracking Properly: If your scope adjustments aren’t showing the expected changes, double-check that the scope is securely mounted and that the adjustment knobs are functioning smoothly.
- Difficulty Seeing Initial Shots on Target: If you’re struggling to get on target, consider using a boresighting tool as a preliminary step. Boresighting aligns the bore with the scope, helping you get “on paper” faster.

A Word From the Experts
Once you’ve gone through the steps to site in your scope, a few expert tips can help you refine your technique and keep your skills sharp.
- Consistency and Control: When zeroing your rifle, consistency in your shooting position, grip, and breathing is essential. Each small detail can affect your shot placement. Try to maintain the same body alignment, hand position, and breathing rhythm with each shot. A smooth, steady trigger pull is also key. Avoid jerking the trigger; instead, slowly squeeze until the shot breaks. This will improve your accuracy over time.
- Understanding “Clicks”: Scopes typically adjust in increments known as “clicks.” Each click represents a small adjustment to your scope’s windage (left and right) or elevation (up and down). Many scopes adjust at ¼ MOA per click, which translates to approximately ¼ inch at 100 yards, or 1 cm at 100 meters. Knowing this can help you make precise adjustments to your point of impact.
- Practice Makes Perfect: Like any skill, zeroing takes practice. Don’t be discouraged if your shots aren’t perfectly aligned right away. The more you practice, the more natural it will feel, and the better your results will be. Remember, every shooter, no matter their experience level, had to start somewhere!
We Have What You Need at Action Target!
As you’ve seen, zeroing your rifle properly takes precision, focus, and the right tools. Action Target offers a range of high-quality targets designed specifically to help you site in and zero your scope with accuracy and ease. Our targets provide clear feedback with each shot, helping you make adjustments quickly and confidently.
Need targets to help you zero your scope? Shop our selection of high-quality zeroing targets at shop.actiontarget.com. We’re committed to supporting your journey with products you can trust.
Thank you for joining us in this guide to zeroing your rifle. With the right technique and consistent practice, precision is within your reach. Stay safe, and enjoy your time on the range!
